Expert Guide: Repairing Wall Holes with Drywall Mastery
Pro Tips for Drywall Repair - Your Ultimate Guide to Patching Holes in the Wall and Restoring Perfection
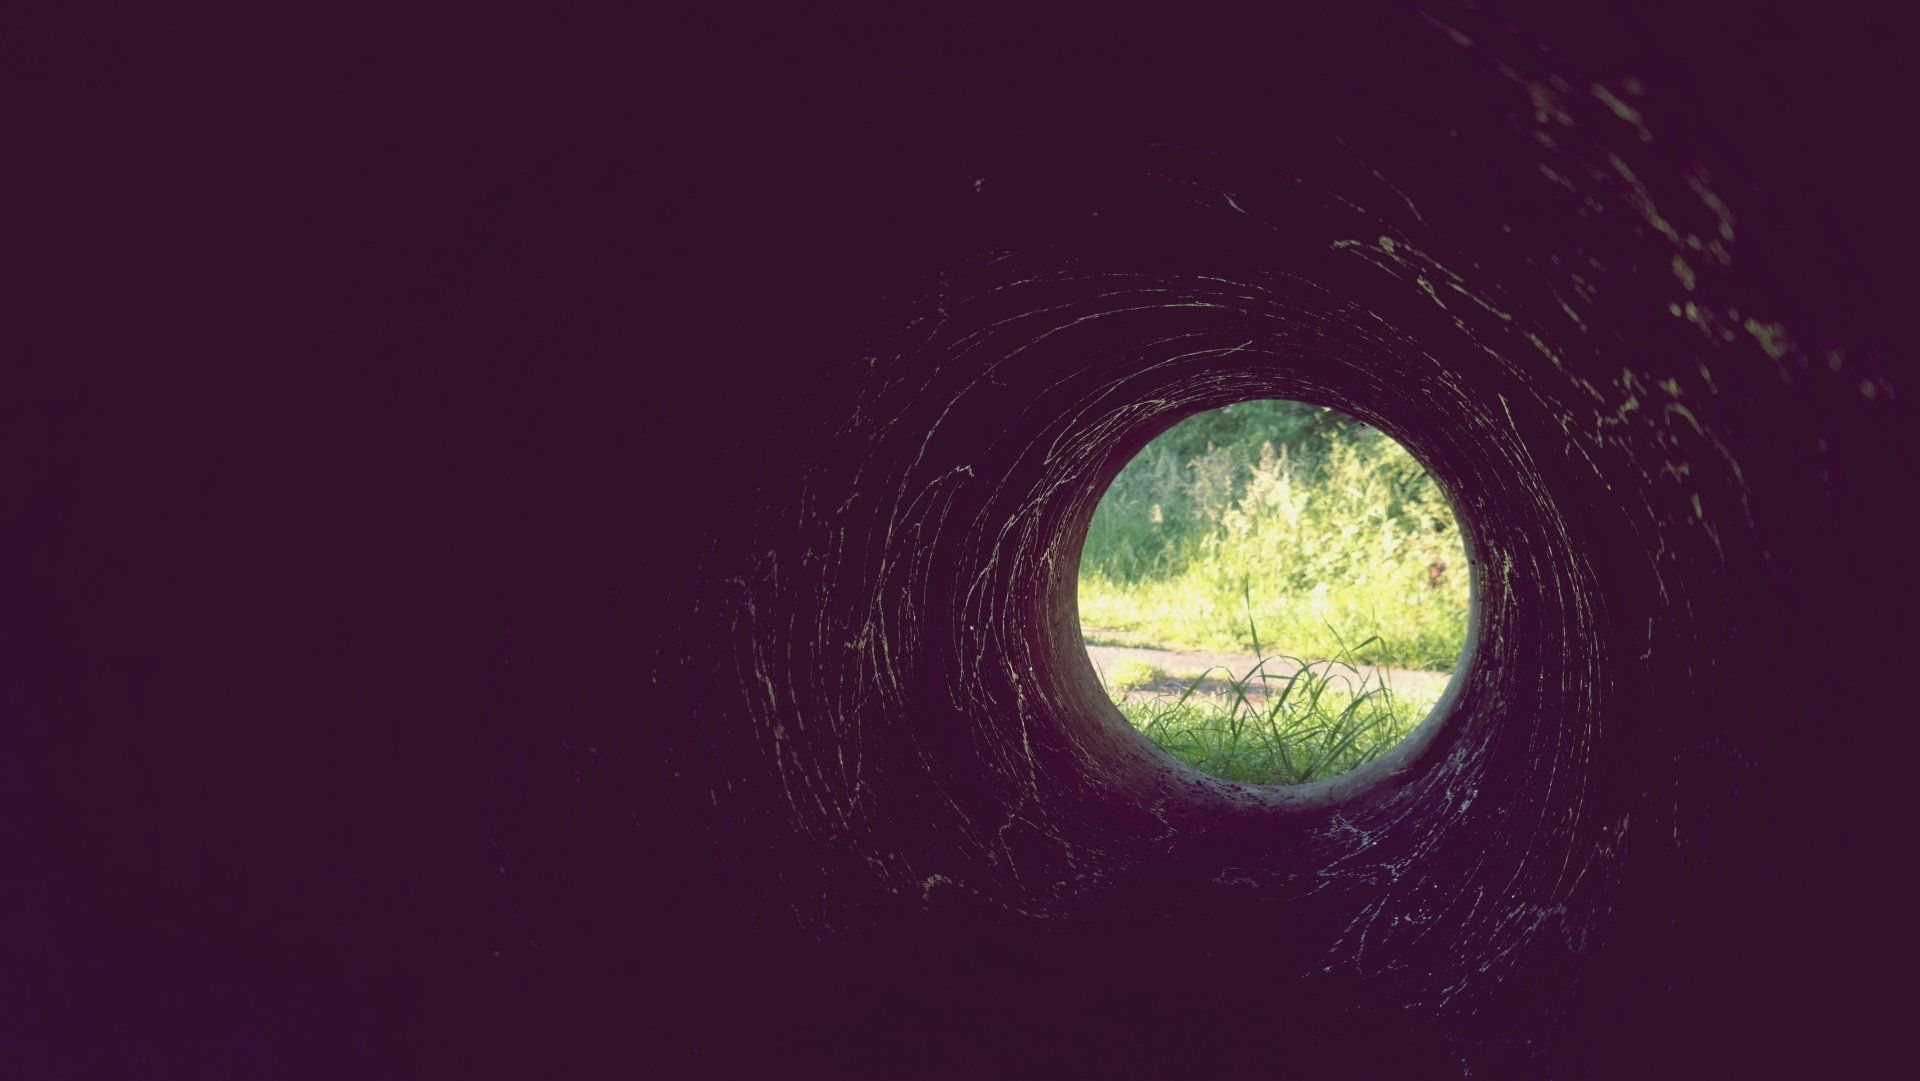
Few things are as frustrating for homeowners as discovering a hole in the wall. Whether it's a result of an unexpected collision, the aftermath of hanging artwork, or just the natural wear and tear that occurs over time, wall damage is an inevitable part of homeownership.
But fret not, because we'll walk you through the process of patching up a hole in the wall like a pro. We'll discuss various techniques, tools, and materials.
Drywall repair How to Fix a Hole in the Wall
Before delving into the step-by-step process of repairing holes in your drywall, let's discuss why it's crucial to address these issues promptly:
Aesthetics: Unsightly holes and blemishes on your walls can significantly diminish the overall appearance of your home. Repairing them restores the visual appeal of your living space.
Structural Integrity: Holes in the wall can compromise the structural integrity of your home, especially if they're not repaired promptly. Properly patched drywall ensures that your walls remain sturdy.
Energy Efficiency: Holes in the wall can also affect your home's energy efficiency. Gaps and openings can allow drafts to enter, leading to increased energy bills. Repairing them helps maintain a comfortable indoor environment.
Now that we understand the importance of addressing wall damage let's get started on how to fix a hole in the wall.
Materials You'll Need
Before you embark on your drywall repair journey, gather the following materials and no you can’t just drywall a hole in the wall again without any repairs to hide it since it will not solve your issue Anyway you need these:
Drywall Patch Kit: Opt for a patch kit that includes a pre-cut patch or drywall compound.
Sanding Block: This tool will help you smooth out the patched area.
Utility Knife: For precise cutting of the damaged area.
Putty Knife: An essential tool for applying the compound evenly.
Spackle or Joint Compound: Choose a high-quality compound for a lasting repair.
Sanding Paper: Have various grits on hand to achieve a seamless finish.
Primer and Paint: Ensure you have the right paint color and texture to match your wall
Step-by-Step Guide to Patching Up a Hole in the Wall
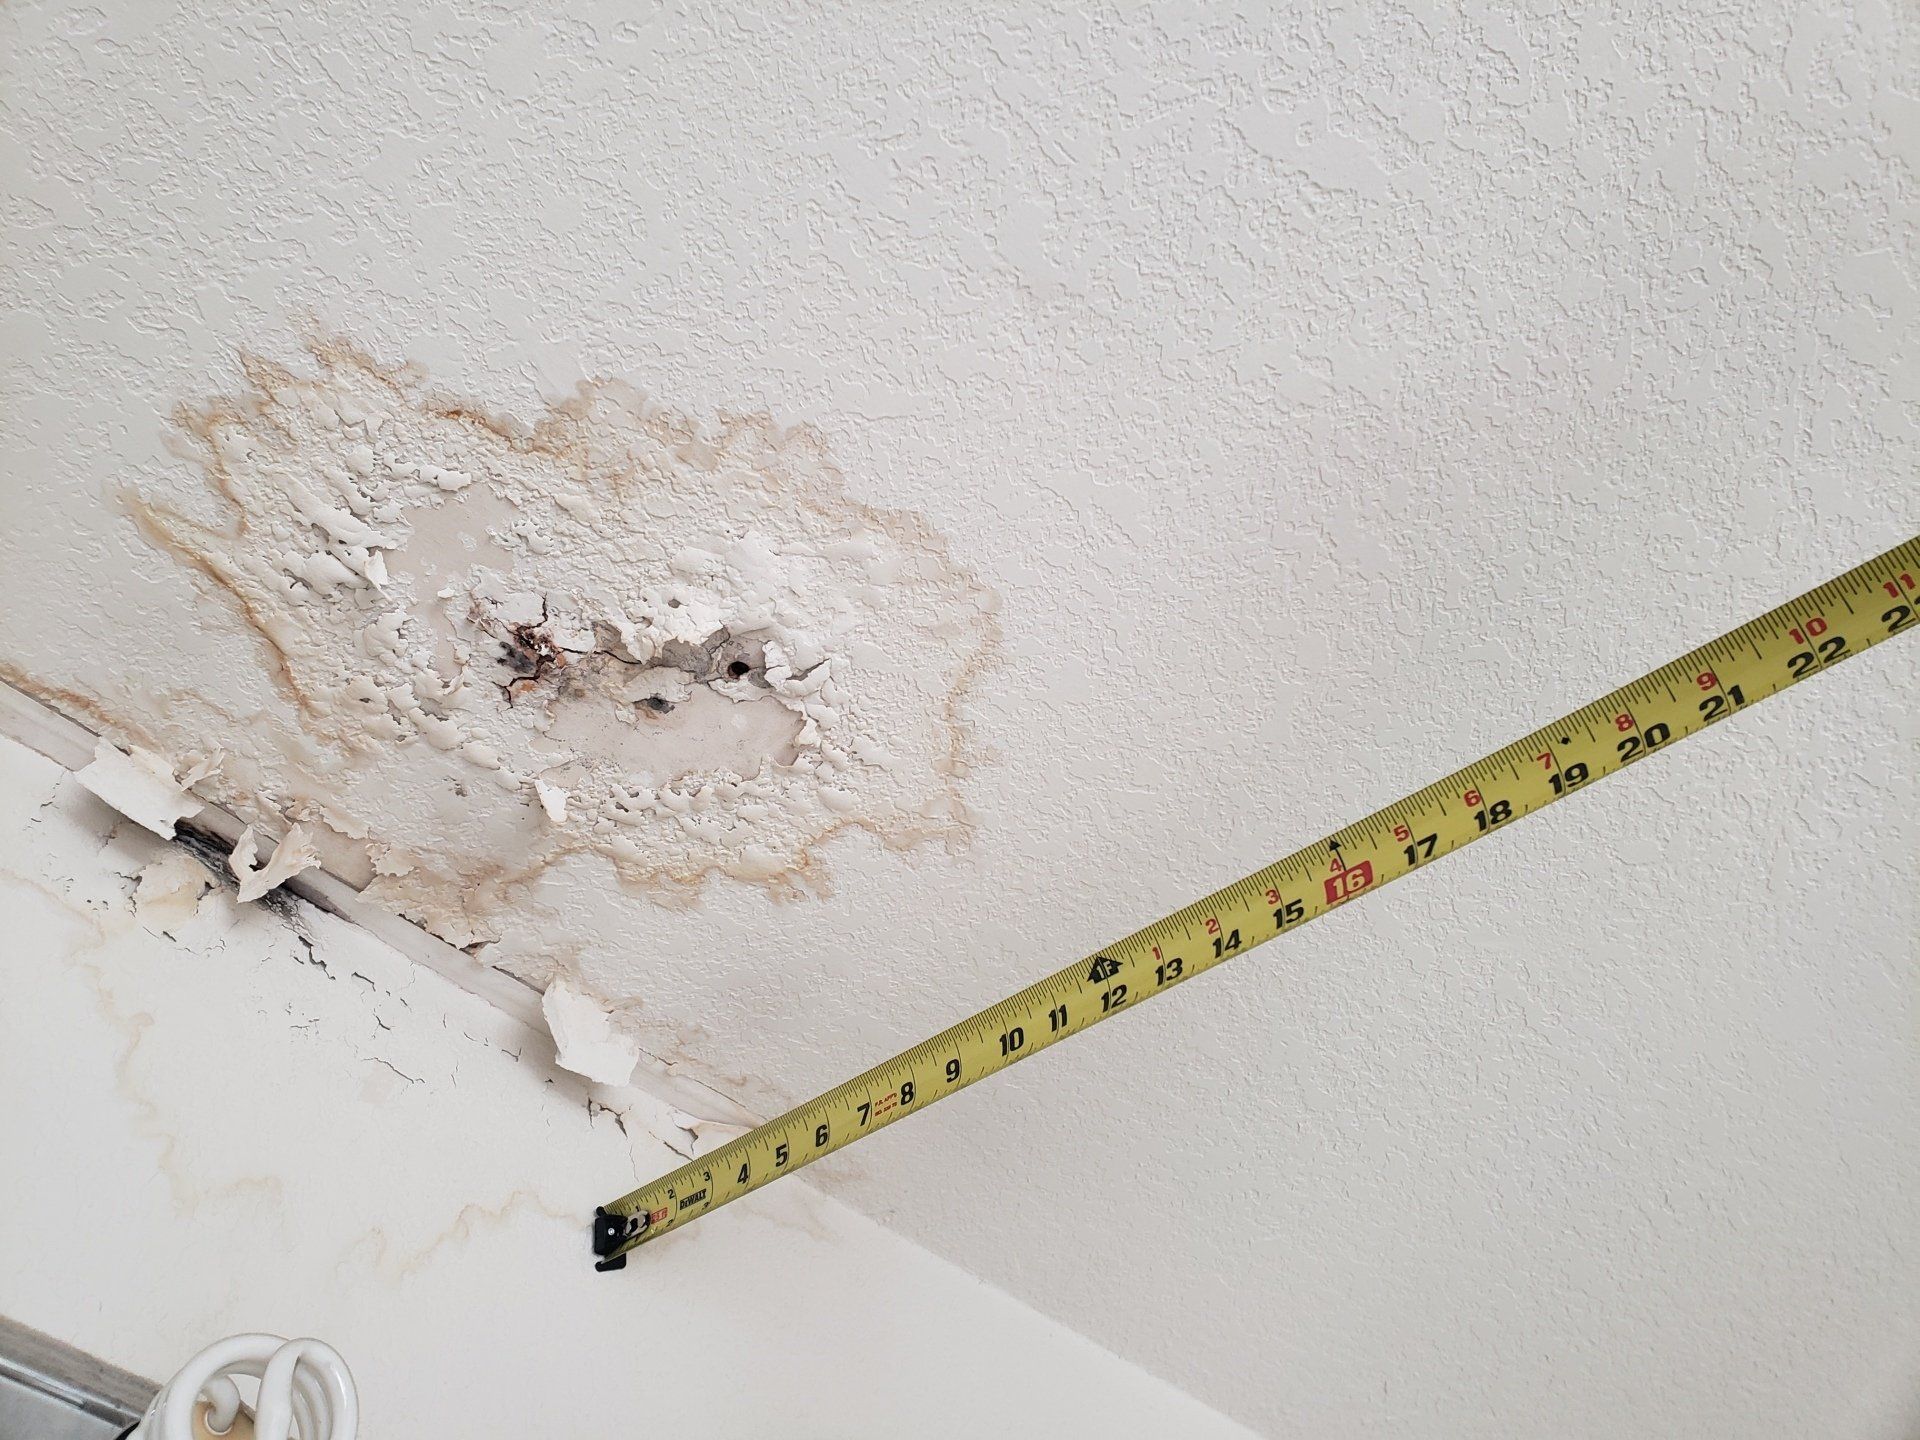
Step 1: Prepare the Area
Begin your wall repair project by thoroughly cleaning the damaged area. Remove any loose debris or chipped drywall using a utility knife or sandpaper. Ensure the area is clean and free of dust.
Step 2: Apply the Patch
If you're using a pre-cut patch from your drywall repair kit, follow the instructions to adhere it over the hole. If you don't have a pre-cut patch, cut a piece of drywall that's slightly larger than the hole and attach it to the wall using screws or nails.
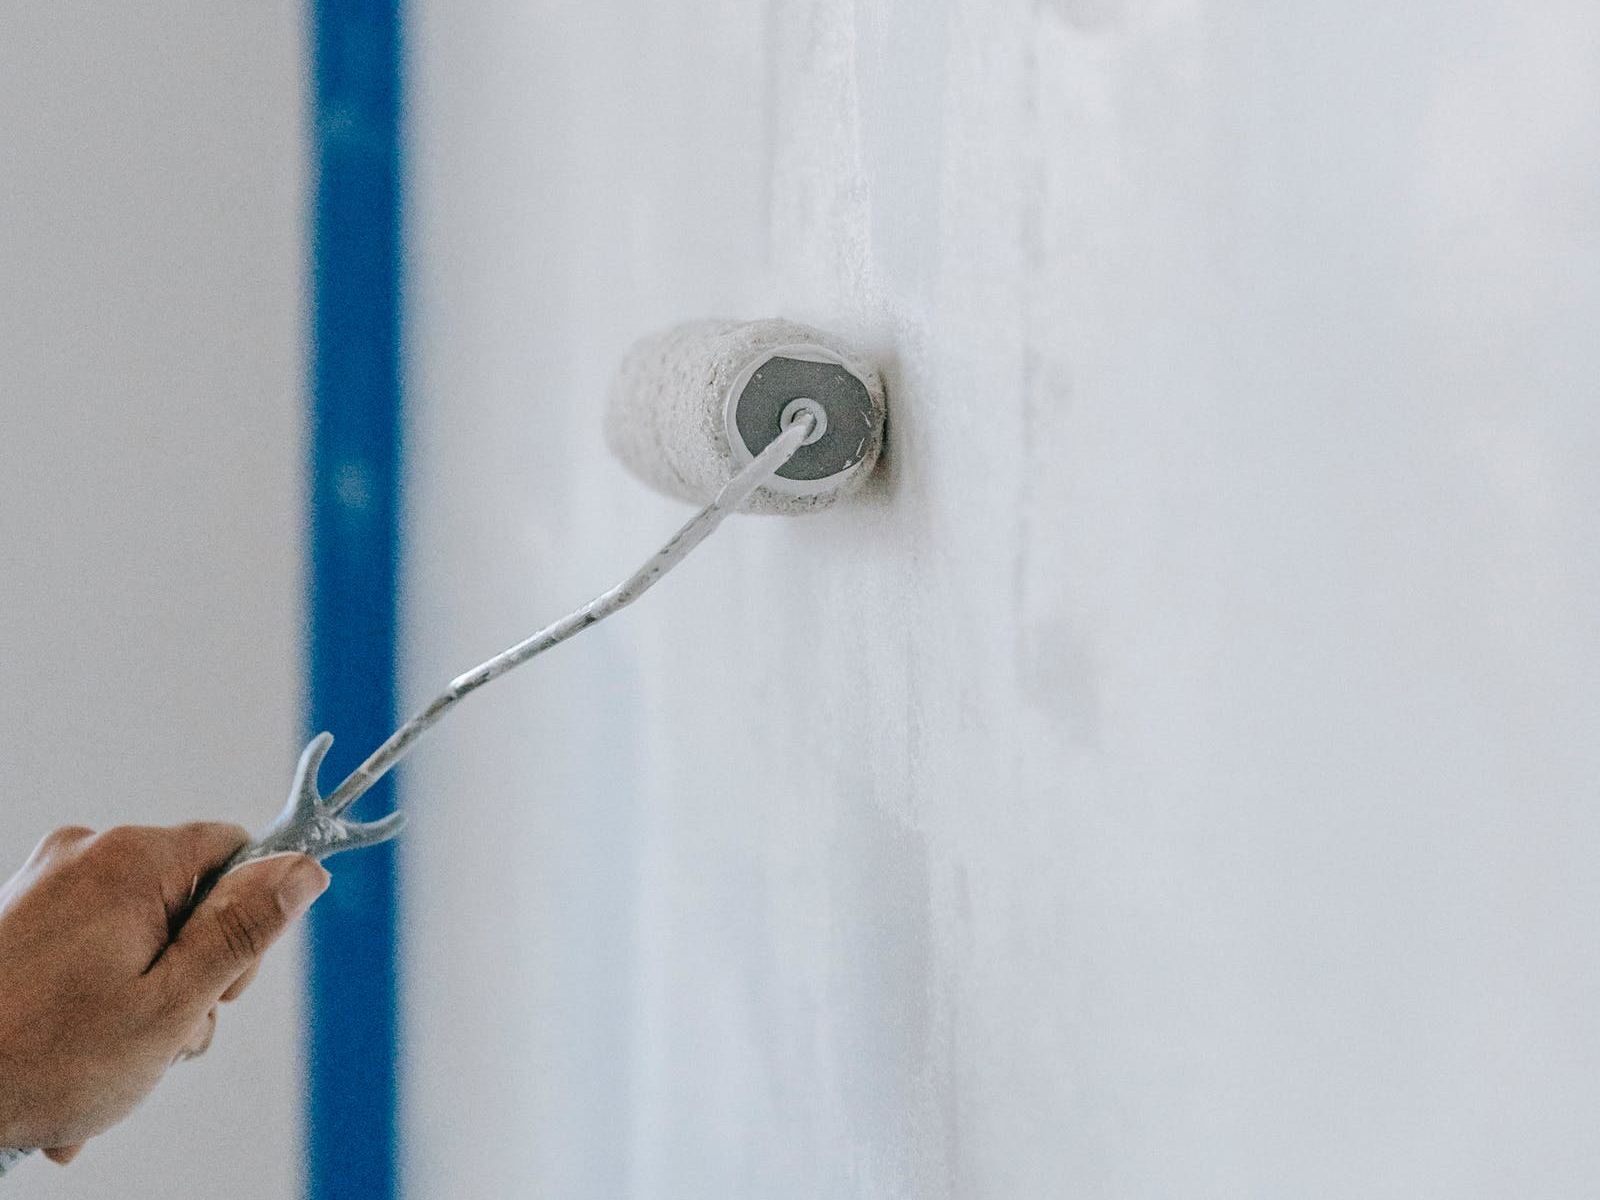
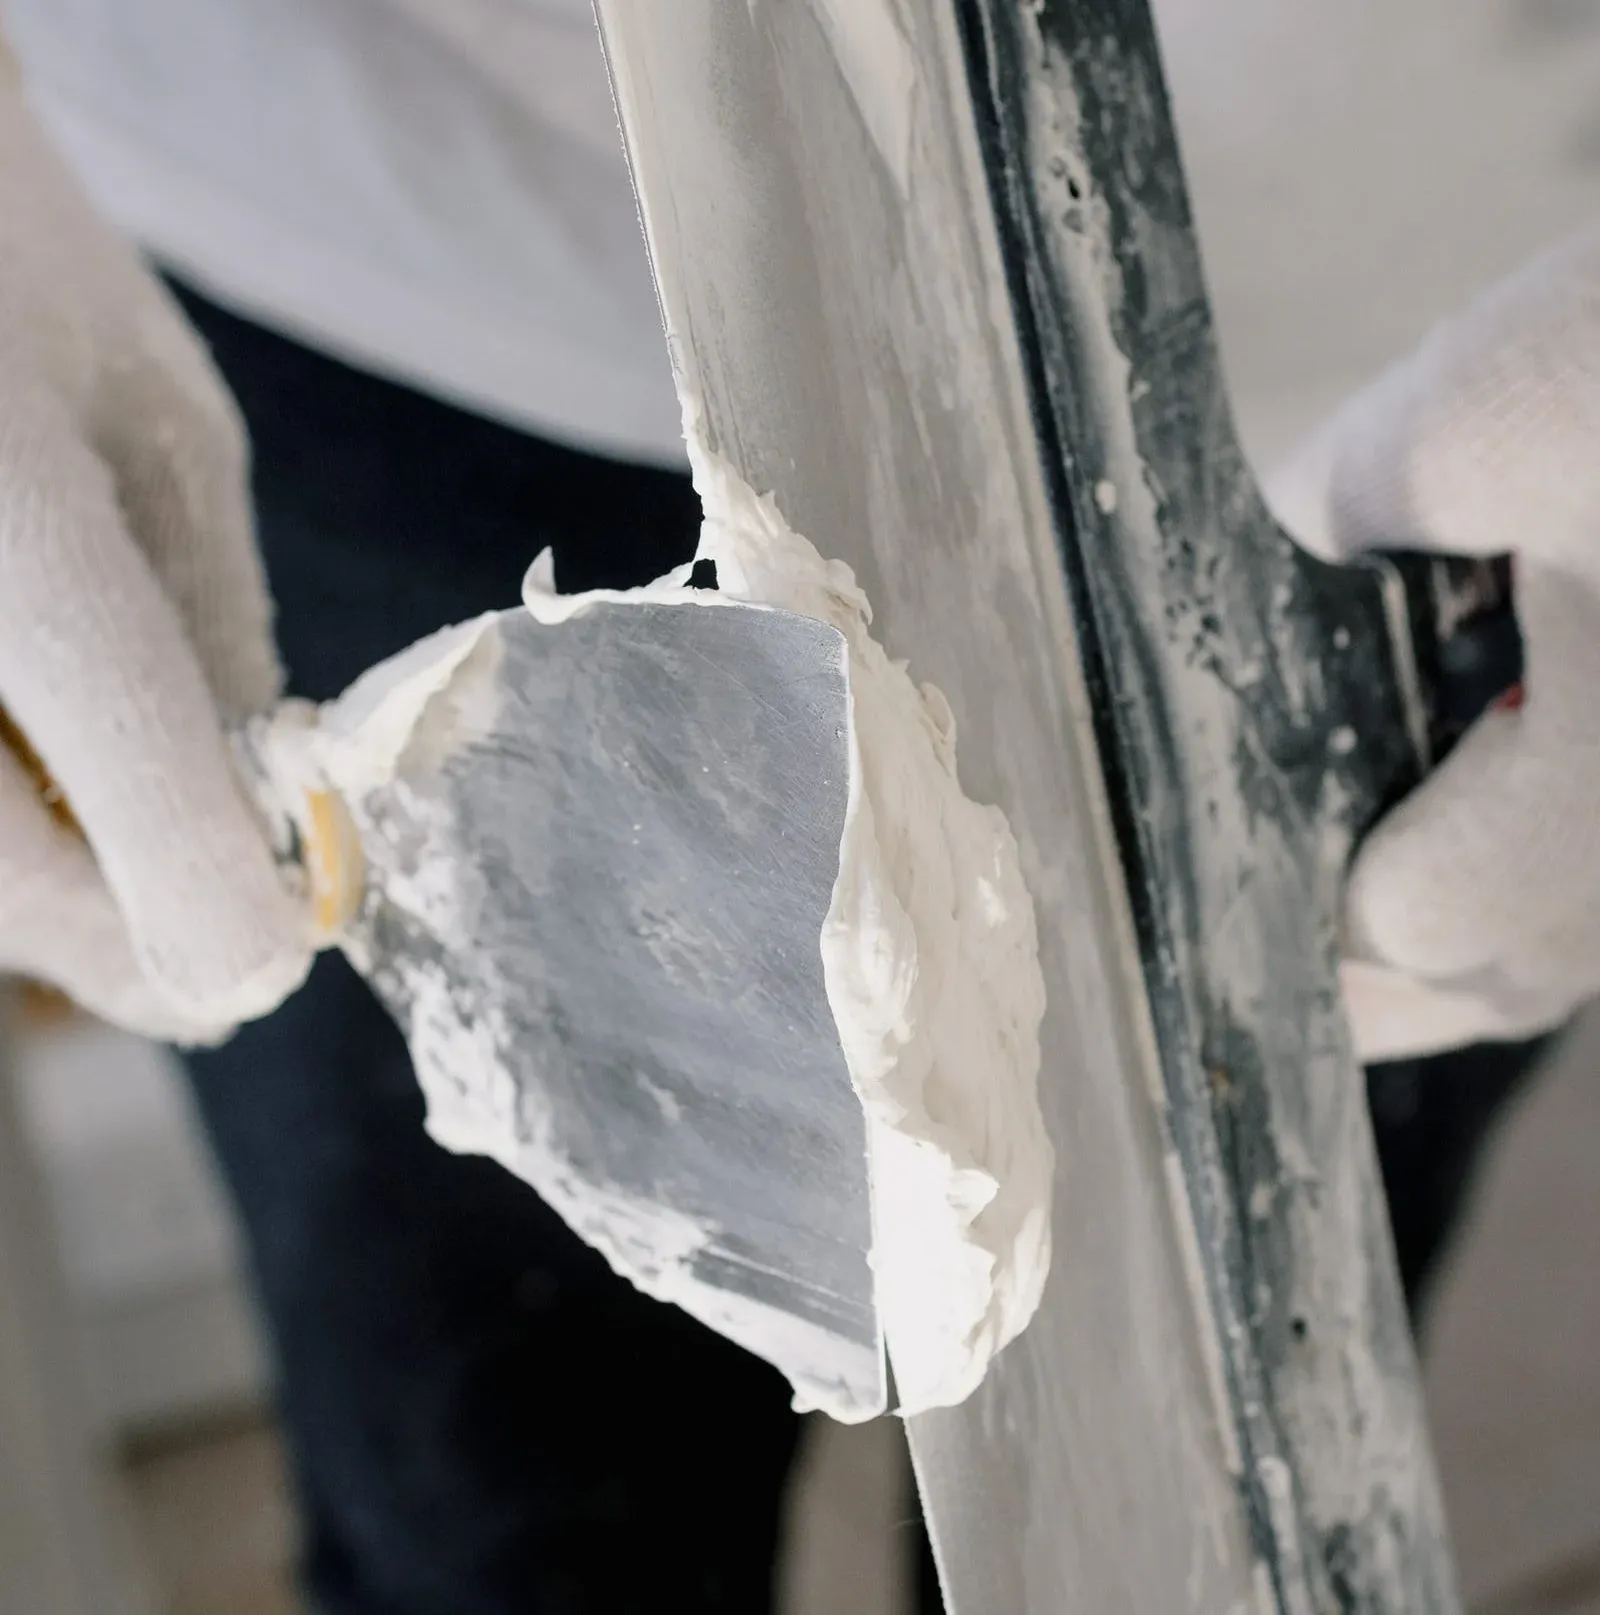
Step 3: Apply Joint Compound
Using a putty knife, spread a thin layer of joint compound over the patch. Feather the compound outwards to blend it with the surrounding wall. Allow it to dry according to the compound's instructions. This may take a few hours, so be patient.
Step 4: Sand and Repeat
Once the first layer of joint compound is completely dry, sand it down until it's smooth and level with the wall. If necessary, apply a second layer of compound and repeat the sanding process until the surface is seamless and uniform.
Step 5: Prime and Paint
After achieving a smooth surface, it's time to prime the patched area. Allow the primer to dry completely before moving on to the final step. Once the primer is dry, paint over the repaired spot using the matching paint color and texture. This final touch will make your repaired wall virtually indistinguishable from the rest of the surface.
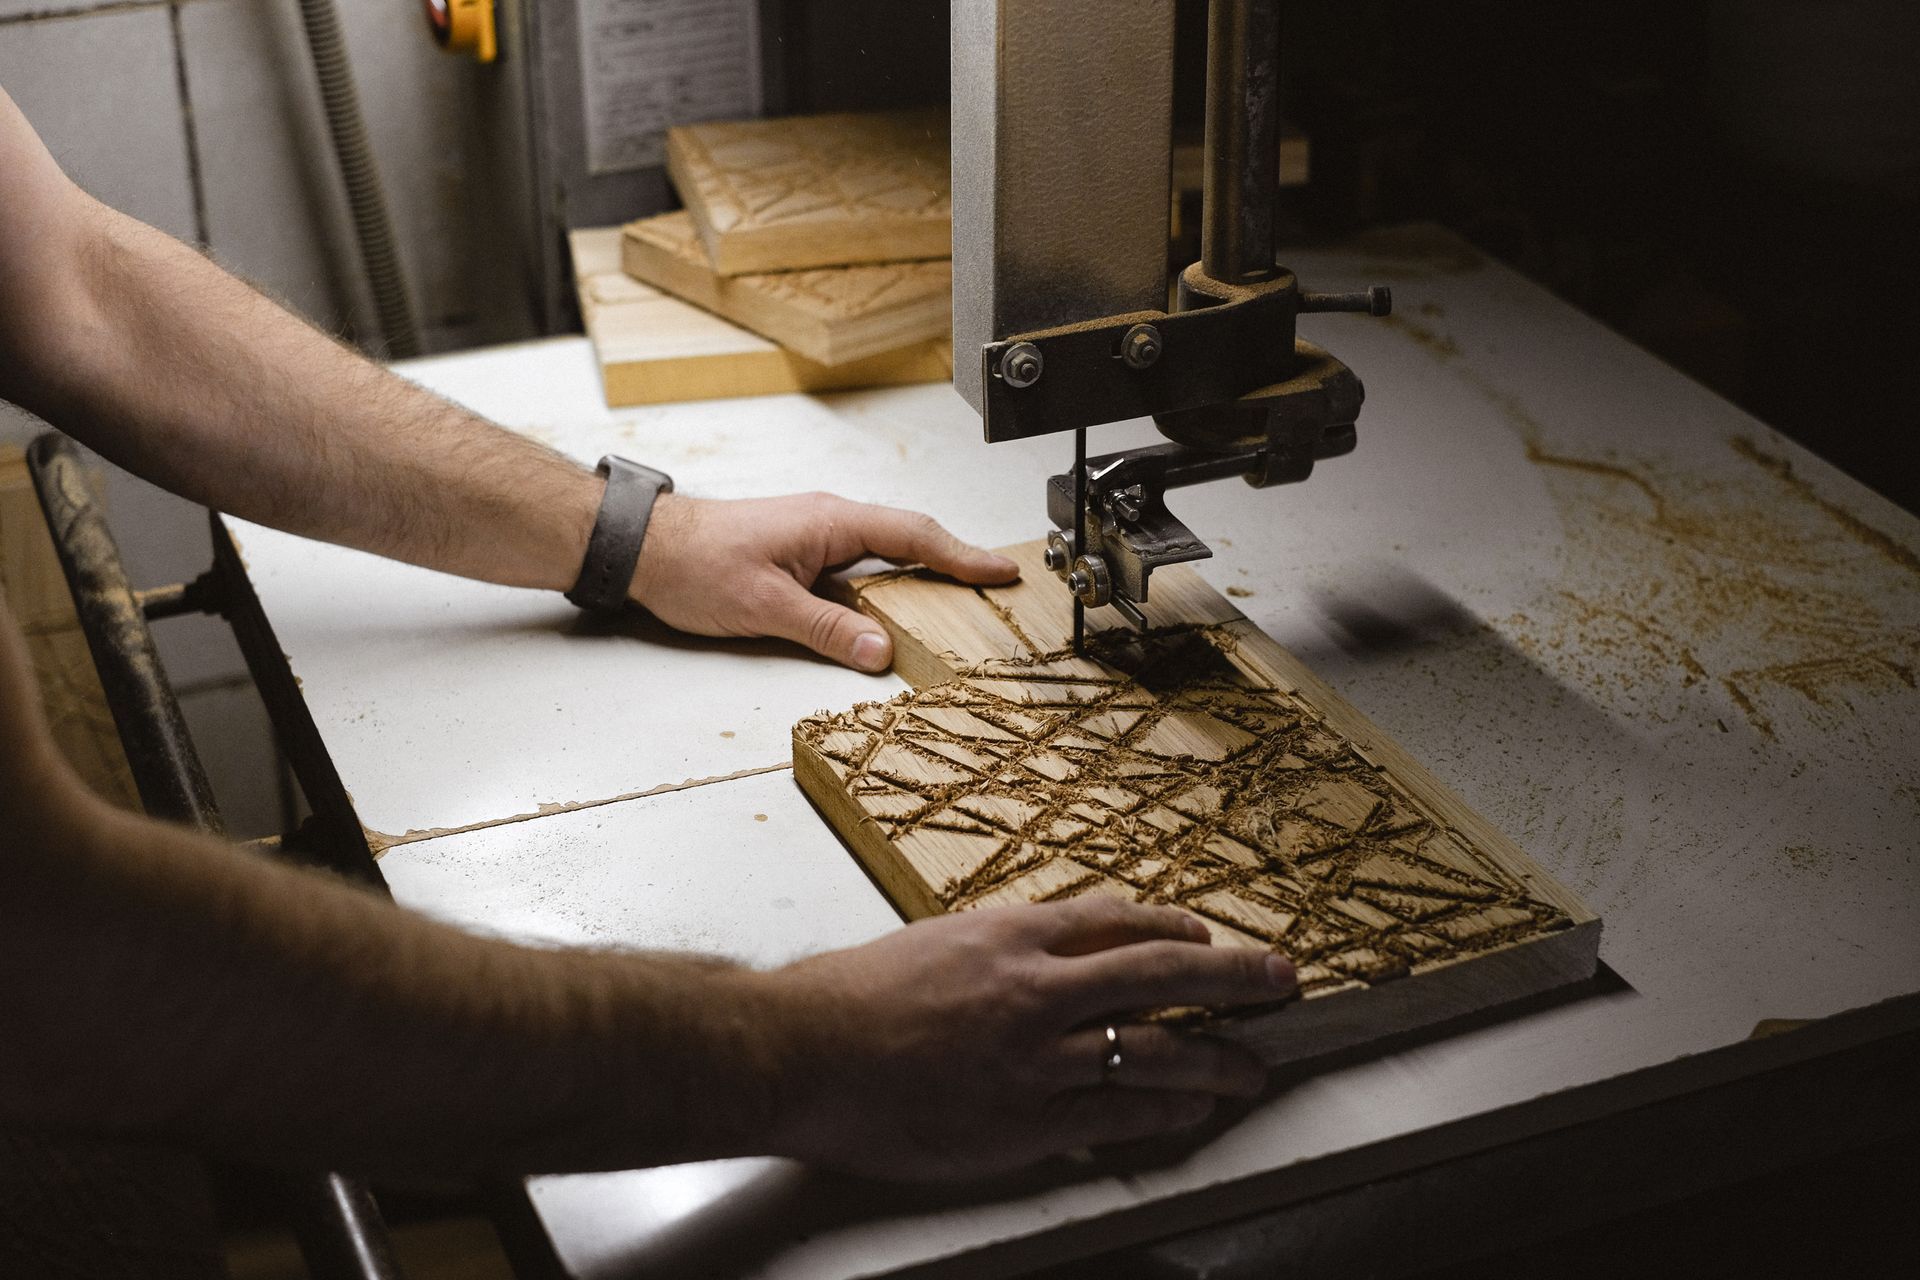
Why Choose Professional Dry Wall Services like Lusha Drywalls
While repairing a hole in the wall can be a satisfying DIY project, there are instances when you might prefer to leave it to the experts.
At
Lusha Drywall Solutions, we specialize in providing professional
drywall repair services that ensure your walls look flawless.
Our team of skilled technicians has the knowledge and experience to handle a wide range of wall repair tasks, from small holes to more extensive damage.
Here are some reasons why you should consider choosing us for your drywall repair needs:
Expertise: Our technicians are trained and experienced in drywall repair techniques, ensuring that every project is completed to the highest standards.
Efficiency: We understand that time is of the essence, and we work efficiently to repair your walls quickly and effectively.
Quality Materials: We use high-quality materials and tools to ensure that your repairs are long-lasting and durable.
Seamless Finish: Our attention to detail means that your repaired walls will blend seamlessly with the rest of your interior.
Convenience: We take care of every aspect of the repair process, from sourcing materials to cleanup, making the experience hassle-free for you.
Conclusion
In conclusion, a hole in the wall is a common issue homeowners face, but it's one that can be resolved with the right tools and techniques.
By following these step-by-step instructions, you can confidently repair holes in your drywall and restore the aesthetics, structural integrity, and energy efficiency of your home.
Remember that if you ever need expert assistance or have a larger hole to fix, you can trust Lusha Drywall Solutions to provide top-notch hole in the wall repair services. Our commitment to quality and customer satisfaction ensures that your walls will be picture-perfect once again.
Don't let unsightly wall damage detract from the beauty and functionality of your home. Take action today, and let Lusha Drywall Solutions help you achieve flawless, professionally repaired walls that you can be proud of.
Ready to work with Lusha Drywall Solutions?
Let's connect! We’re here to help.
Send us a message and we’ll be in touch.
Or give us a call today at 817-482-0231
Agency Contact Form
More Marketing Tips, Tricks & Tools


©Lusha Drywall Solutions
Lusha Drywall Solutions is a leader of commercial, and residential drywall projects in North Texas. Since its foundation the company has doubled its turnover year on year, with its staff numbers swelling accordingly.
Follow Us On Social Networks
© 2022 Powered by Snapps | SEO Fueled